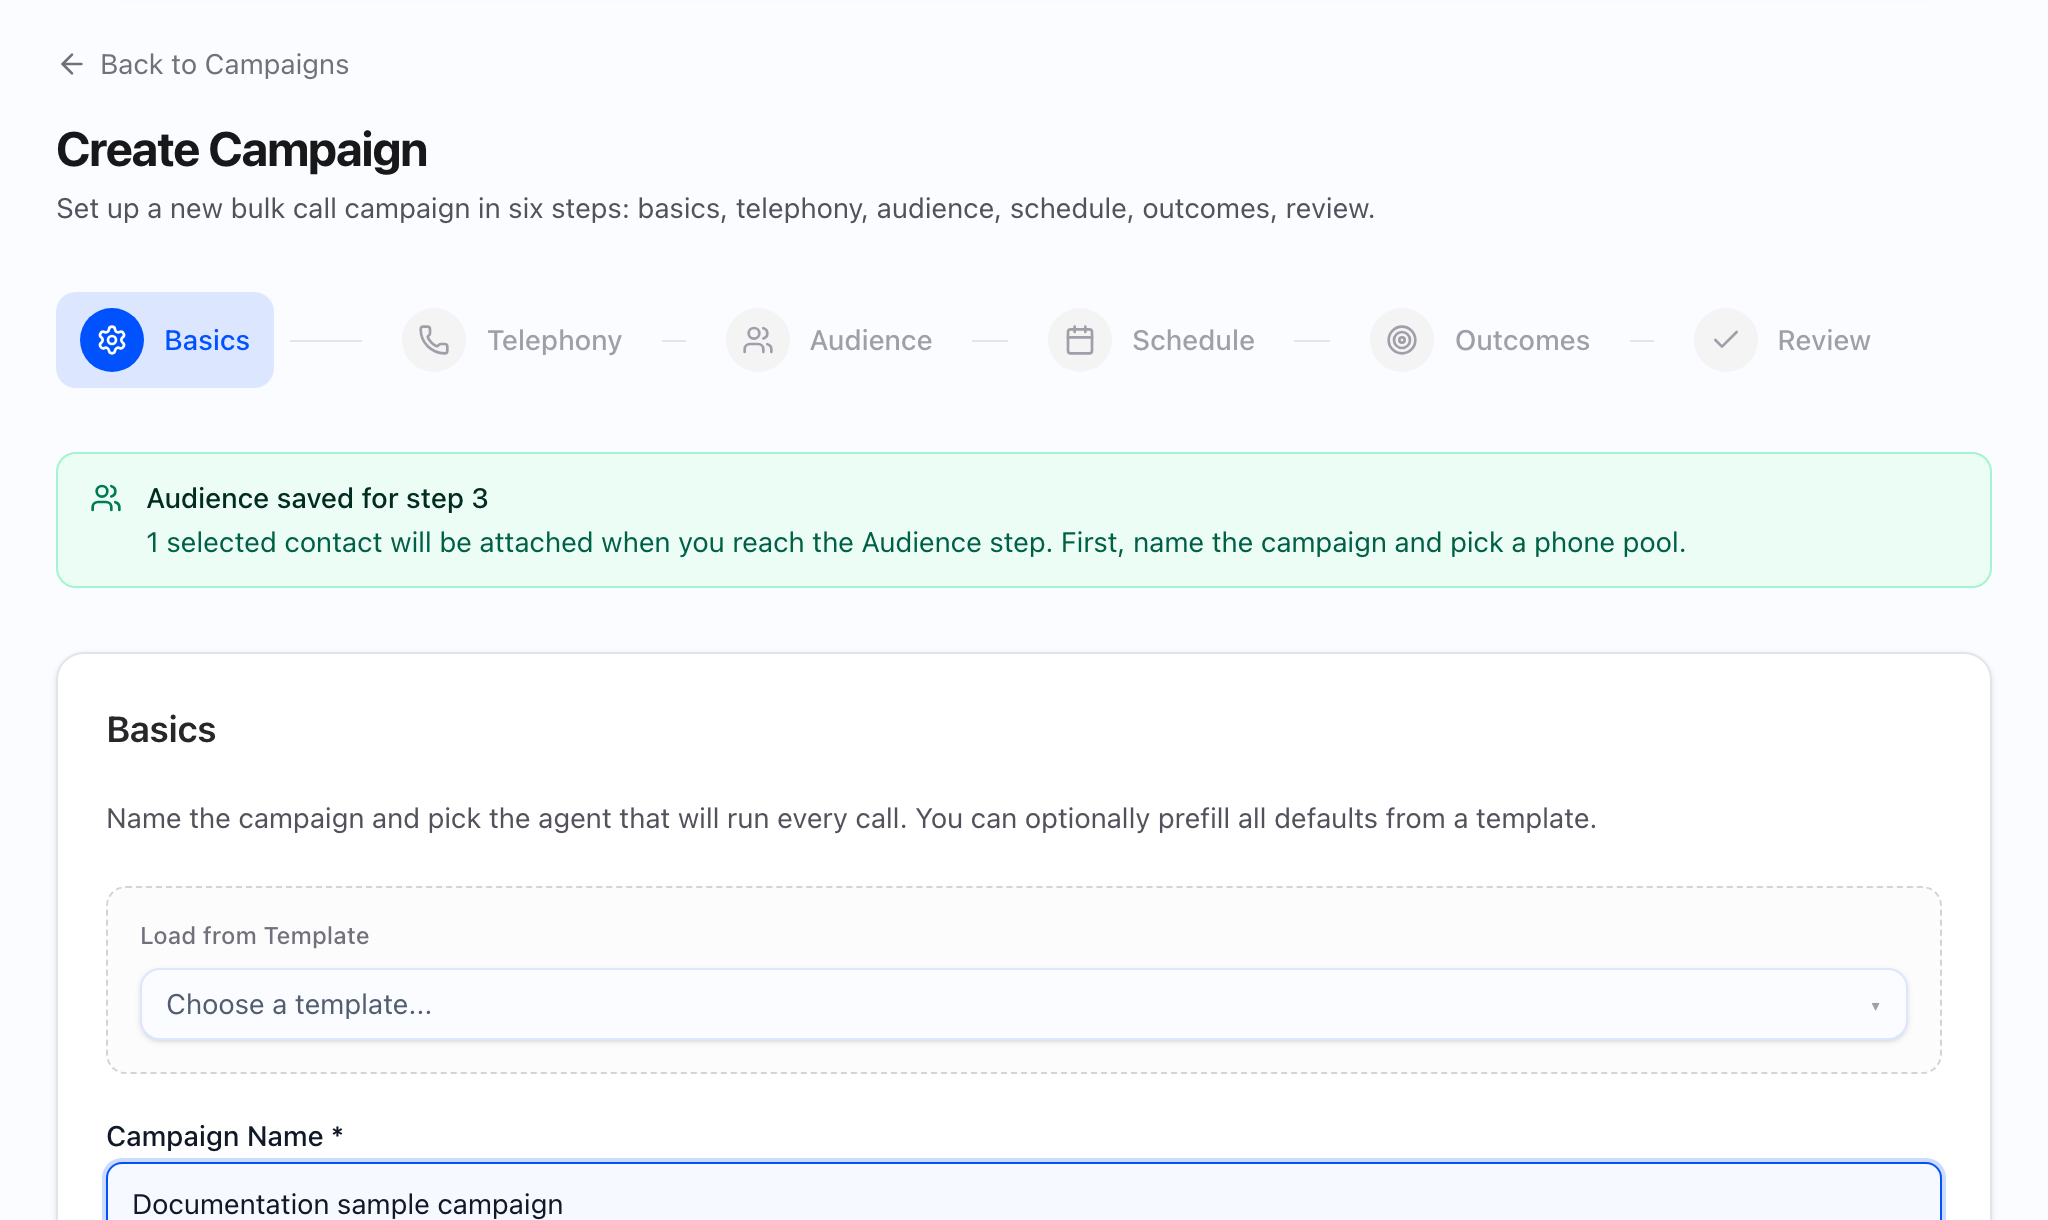
Wizard Step 3: Audience
In the app this is the Audience step in the new-campaign wizard (same flow as the other steps: open Campaigns → New campaign, or continue from a draft, clone, or template).
Banners you may see above Contact Source:
- Clone / prefill: “Prefilled from another campaign” — explains settings were copied; you still choose how to attach the audience. If the server truncated contact IDs, a note shows the limit vs total.
- Edit draft: “Editing draft” plus the draft name in bold — if the draft already has tasks, copy explains that saving updates settings and the audience stays the same unless you replace it with a new CSV; if there are no contacts yet, copy invites adding CSV/segment or saving settings only.
What the static should show: Contact Source with the three cards (Upload CSV, Contact IDs, From Segment), then the white panel for the selected source, plus Agent Variable Status and Call Variables when applicable.
Contact Source
Section label: Contact Source.
Three selectable cards:
- Upload CSV — “Import contacts from a CSV file”
- Contact IDs — “Comma-separated contact IDs (from exports or another campaign)”
- From Segment — “Use a pre-built contact segment”
What the GIF should show: Switching between the three cards and watching the lower panel swap between CSV upload, IDs textarea, and segment picker.
Upload CSV
- Upload CSV File with subcopy: “Download a template with contact, custom, and eligible agent fields.”
- Download template CSV — downloads a template that includes standard contact columns, your workspace custom field keys, and each mappable agent variable name (see Agent variables).
- Drop zone: “Click to upload or drag and drop” / “CSV files only”; after you choose a file, the UI shows a checkmark, file name, and size.
- On upload, the first several lines appear as a quick preview.
Column Mapping (after preview exists)
- Heading Column Mapping with copy: “For each CSV column, choose where to store the data and optionally which agent variable it should map to at call time.”
- Per column row:
- Column header and first sample value (truncated).
- Store as — start from Skip, or map to Contact fields (phone required, plus name, email, company, timezone), Custom field entries, or Call metadata (derived from the column header when you choose that option).
- Agent variable — shown when the selected agent has mappable variables: None or a specific variable name. Placeholder “None”.
- Duplicate detection: if two columns map to the same Store as target or the same Agent variable, the row is highlighted in amber with “Duplicate: another column uses this target” or “Duplicate: another column maps to this variable”.
- On upload, common header names are auto-mapped to contact fields, custom fields, and agent variable names when they match.
Preview table
- Label along the lines of “Preview (first N rows)” for a few data rows after the header.
Persisting extra CSV fields
The wizard does not show a separate checkbox for this on create. If you map any column to a custom field, those values are persisted on the contact when the campaign is saved. Drafts you edit may already have this behavior from earlier saves, even without a dedicated control in Step 3.
Contact IDs
- Label Contact IDs, textarea placeholder “e.g. 101, 102, 103”.
- Help: “Only active contacts in your workspace are dialed. Use numeric IDs separated by commas or newlines.”
- Parsing: split on commas/newlines; each token must parse as a finite integer > 0. Empty or non-numeric tokens are dropped.
From Segment
- Label Select Segment.
- Searchable list: “Choose a segment…”, “Search segments…”, “No segments found” (segments load as you search).
Map Contact Fields to Agent Variables (segment only)
Shown when From Segment is selected, a segment is chosen, an agent is selected, and that agent has at least one mappable variable.
- Title: Map Contact Fields to Agent Variables
- Copy: “For segment-based campaigns, map contact fields to the agent’s call variables so data flows into the call context.”
- Left column lists each mappable contact field (first name, last name, email, company, timezone, country code) plus Custom rows for each workspace custom field.
- Right side: per row, choose None or an agent variable name.
Phone numbers are not in this mapping list; segment membership defines who is dialed.
Agent Variable Status
Shown when an agent is selected and the agent defines variables beyond the ones the platform fills automatically (for example system fields like phone and campaign or contact id).
- Title Agent Variable Status; copy names the agent.
- Each variable: colored dot, name, and how it is supplied (static default, call metadata, etc.).
- Resolution column:
- static default — set on the variable as a default.
- mapped from CSV / mapped from contact field — covered by CSV, segment mapping, or Call Variables (wording depends on the source).
- static campaign var — a Call Variables row uses the same key as the variable.
- from contact — standard contact fields and tags, filled from the contact record rather than this step’s mapping alone.
- needs mapping — not covered yet (amber dot).
Mappable variables (for the CSV Agent variable column and the segment mapper) skip variables that only have a fixed default and names reserved for the platform.
Call Variables
- Section title Call Variables; “Static variables applied to every call in this campaign”.
- Add Variable adds a row: Key, Value, Agent Variable (select from mappable agent variable names when available, else free-text), remove button.
- If the agent expects mappable variables but no rows exist, helper lists their names: “The selected agent expects these call variables: …”
What the video should show: Upload CSV, adjust Store as / Agent variable, open Agent Variable Status to see status dots update, add a Call Variables row, then click Next while creating a new campaign.
What blocks Next
- Editing an existing draft: Next is always allowed on Audience (audience rules are not re-validated in that mode).
- New campaign, clone, or template: Next requires:
- Upload CSV: a CSV file is attached.
- Contact IDs: at least one valid contact id in the list.
- From Segment: a segment is selected in the dropdown.
Saving your mappings
When you save with CSV, field mappings, agent variable links, and Call Variables rows are sent with the campaign so delivery uses the same structure.